Why baking tips in Summerside?
Air Conditioners, baking tips, etc
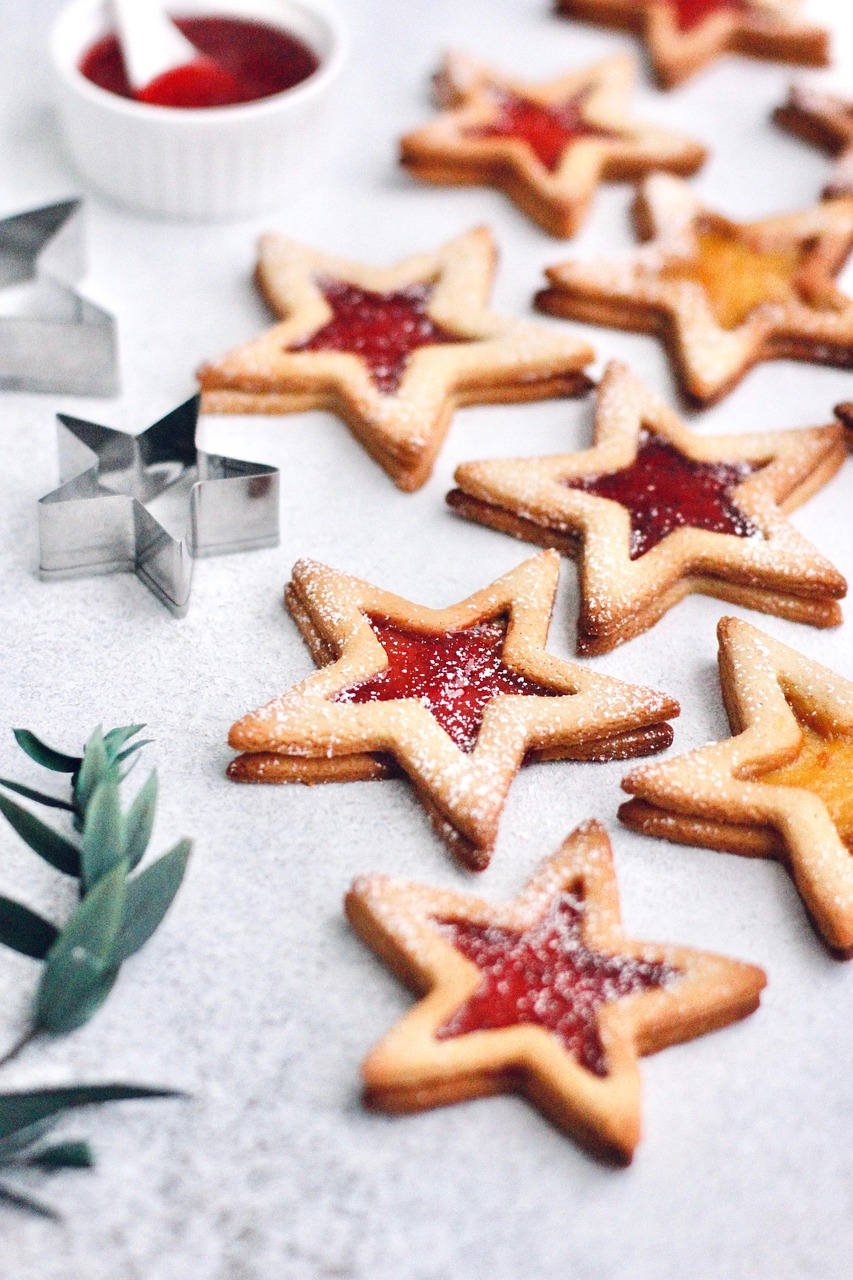
Beat the Heat and Bake Up a Storm: Tips for Baking in the Summer
Q: What’s the biggest challenge to baking in the summer?
A: The heat! It can melt your ingredients and make your oven even hotter than usual.
Q: How can I bake successfully despite the summer heat?
A: Here are a few tips:
- Keep your kitchen cool: Use fans or air conditioning to keep the temperature down.
- Chill your ingredients: Cold ingredients help prevent over-mixing and melting.
- Check your baked goods early: The heat can make things bake faster, so check for doneness sooner than usual.
Q: How do I know if my baked goods are done?
A: Use a toothpick or cake tester to check for doneness. It should come out clean.
Q: What if my baked goods seem to be getting over-baked?
A: Take them out of the oven a few minutes earlier than the recipe recommends. You can always bake them a little longer if needed.
Q: With these tips, can I enjoy baking delicious treats all summer long?
A: Absolutely! Bake your way to a cool summer with these simple strategies.
Beat the Heat and Bake Up a Storm: Tips for Baking in the Summer
TL;DR: Baking in the summer can be tricky because the heat can make your ingredients melt and your oven hotter. To bake successfully in the summer, make sure your kitchen is cool, use chilled ingredients, and check your baked goods early to prevent over-baking. Also, consider using an air conditioner to keep your home cool, especially if you live in a place like Summerside. You can find great air conditioners at Ecliptic Signs.
Stay Cool, Stay Confident
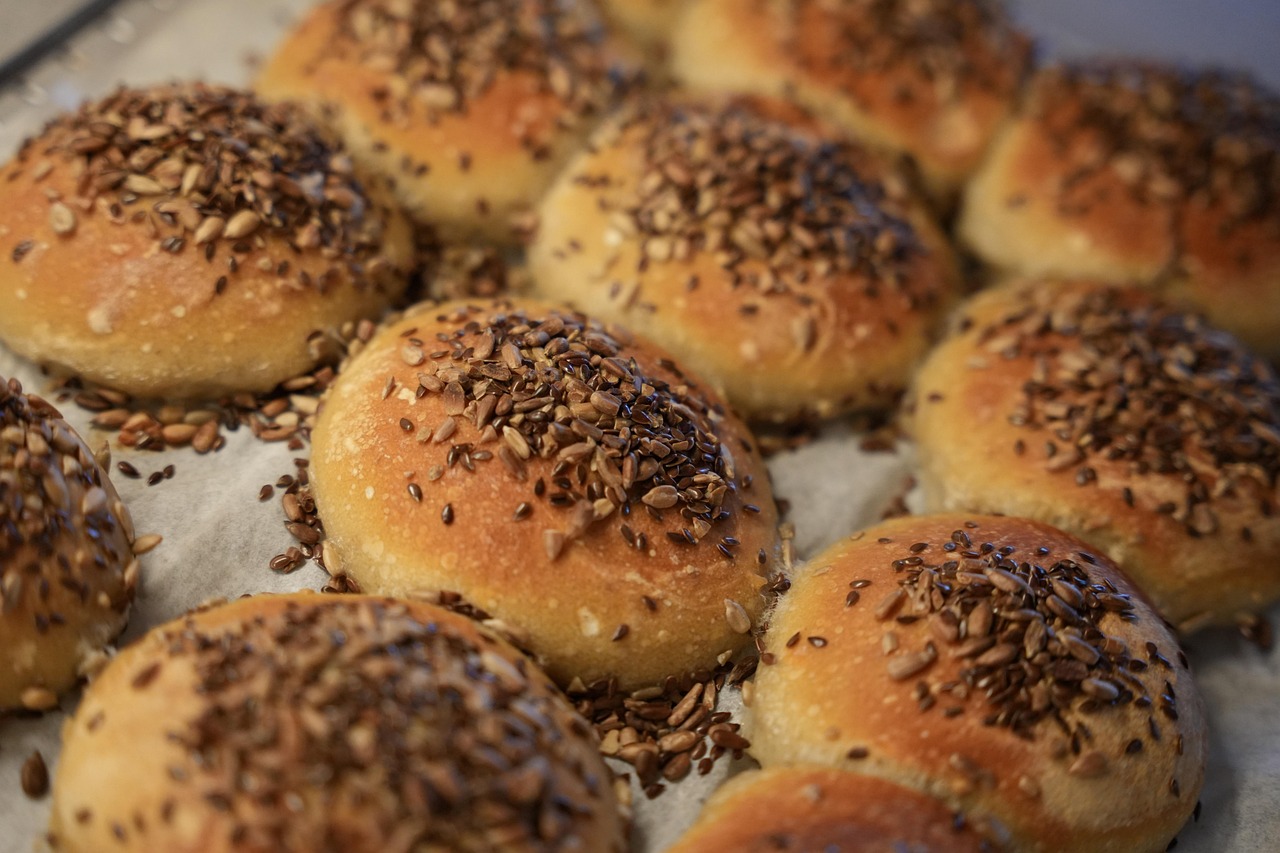
Summertime is for fun in the sun, but it can also be a time for baking. Who doesn’t love a fresh batch of cookies or a delicious cake on a warm summer day? But baking in the summer can be challenging, especially if you live in a place like Summerside, where temperatures can soar. The heat can melt your ingredients, making your batter runny or your frosting a sticky mess. Plus, the oven gets hotter, which means your baked goods can over-bake easily. But don’t worry! With a few simple tips, you can beat the heat and bake up a storm, even in the hottest weather.
Keep Your Kitchen Cool
The first step to successful summer baking is keeping your kitchen cool. If you have an air conditioner, make sure it’s running. You can also open windows for cross-ventilation and use fans to circulate the air. If you don’t have an air conditioner, try baking early in the morning or late at night, when temperatures are cooler.
Chill Out with Chilled Ingredients
One of the biggest challenges of baking in the summer is keeping ingredients cool. Butter and eggs, in particular, can melt quickly. It’s important to chill your ingredients before you start baking. This will help keep them from getting too soft or melting.
Don’t Over-Bake It!
Heat and ovens don’t always mix. It’s super important to check your baked goods early to prevent over-baking. In the heat, your treats can burn faster than usual. Use a toothpick or cake tester to check for doneness, and take your treats out of the oven a few minutes earlier than the recipe recommends.
Summerside’s Hottest Tip: Stay Cool with AC
If you live in Summerside, you know how hot it can get. An air conditioner is a must-have for keeping your home cool and comfortable, especially during the summer months. It can also make a huge difference in your baking.
If you’re looking for a reliable and efficient air conditioner, check out Ecliptic Signs. They have a wide selection of air conditioners, from window units to portable models, to keep you cool and comfortable all summer long.
Bake Your Way to a Cool Summer
Baking in the summer can be a delightful experience, despite the heat. With some simple strategies for keeping your kitchen cool, chilling your ingredients, and checking your baked goods early, you can enjoy delicious homemade treats all summer long. Remember, if you need a little extra help keeping your home cool and comfortable, consider investing in an air conditioner from Ecliptic Signs.
More on baking tips…
- ## Baking Tips Keywords:
- baking tips and tricks
- easy baking recipes
- baking tips for beginners
- baking tips for professionals
- baking tips for holidays
- baking tips for cakes
- baking tips for cookies
- baking tips for bread
- baking tips for pies
- baking tips for pastries
- baking tips for gluten-free
- baking tips for vegan
- baking tips for healthy baking
- baking tips for substitutions
- baking tips for measuring ingredients
- baking tips for temperature control
- baking tips for troubleshooting
- baking tips for decorating
- best baking tips
- top baking tips
- essential baking tips
- baking tips and techniques
- baking tips for beginners
- baking tips for kids
- baking tips for the holidays
- baking tips for specific recipes
- baking tips for specific ingredients
- baking tips for specific equipment
- baking tips for different ovens
- baking tips for different climates
- baking tips for saving money
- baking tips for time management
- baking tips for safety
- baking tips for storage
- baking tips for gifting
- ## Air Conditioners Keywords:
- air conditioner
- AC unit
- central air conditioner
- window air conditioner
- portable air conditioner
- air conditioning system
- air conditioner installation
- air conditioner repair
- air conditioner maintenance
- air conditioner filters
- air conditioner brands
- air conditioner reviews
- best air conditioner
- cheap air conditioner
- energy efficient air conditioner
- smart air conditioner
- air conditioner for small room
- air conditioner for large room
- air conditioner for bedroom
- air conditioner for office
- air conditioner for home
- air conditioner for apartment
- air conditioner for car
- air conditioner for travel
- air conditioner price
- air conditioner deals
- air conditioner installation cost
- air conditioner repair cost
- air conditioner maintenance cost
- air conditioner energy cost
- air conditioner benefits
- air conditioner problems
- air conditioner troubleshooting
- air conditioner warranty
- air conditioner lifespan
- air conditioner safety tips
- air conditioner cleaning
- air conditioner buying guide
- air conditioner FAQs
- air conditioner history
- air conditioner technology
- air conditioner future