Posted on Leave a comment

Health Supplements | Boost Your Laundry Routine: Tips For Sparkling…

Why you simply must checkout Health Supplements and Laundry

Why don’t more people offer Health Supplements?

Clean Clothes & Healthy You: A Quick Guide

Want to rock some clean threads and feel your best? Let’s talk laundry and supplements!

Washing Up Green:
– Ditch the harsh chemicals for eco-friendly options.
– Wash in cold water and air-dry your clothes whenever possible.
– Skip the dryer sheets and opt for wool dryer balls.

Supplements: Your Body’s BFF:
– There are tons of supplements that can support your health.
– Talk to your doctor about what might be right for you!

Bonus: Maybe even plan a trip to Buffalo! It’s a cool city.

In a nutshell: This article is all about being good to your clothes and good to yourself!

Boost Your Laundry Routine: Tips for Sparkling Clothes and a Healthier Home

TL;DR – Too Long; Didn’t Read

This article is about laundry and supplements. It talks about how to make your laundry routine eco-friendly and how to use supplements to help your health. It also mentions how Buffalo, New York is a great place to visit.

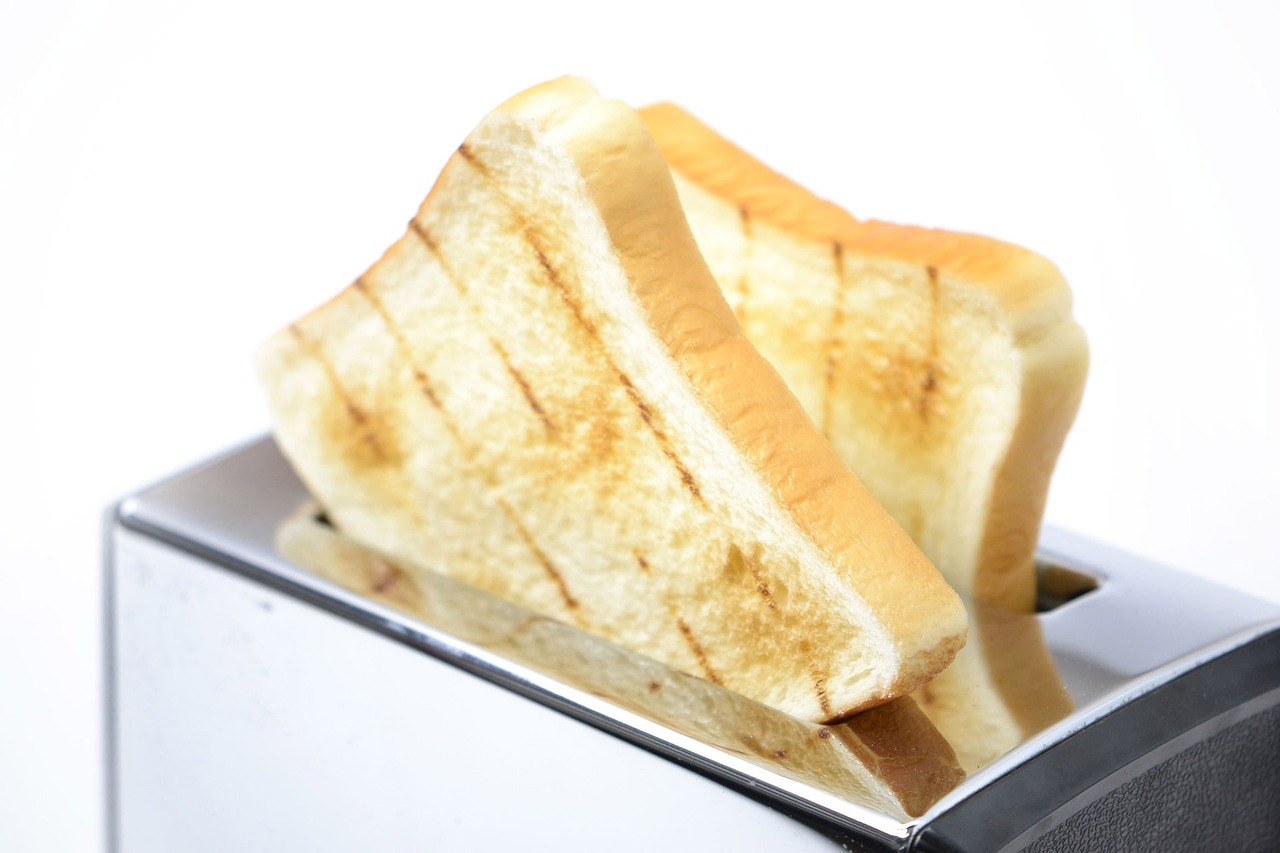
Eco-Friendly Laundry Tips

Did you know that laundry can be a big part of your environmental impact? That’s why it’s super important to make your laundry routine more eco-friendly. Here are some awesome tips:

  • Wash clothes in cold water: Washing in cold water saves energy and helps your clothes last longer. Plus, it’s better for the planet!
  • Use less detergent: You don’t need a ton of detergent to get your clothes clean. Using too much can actually leave residue and make your clothes look dull.
  • Air dry your clothes: Air drying is the most eco-friendly way to dry your clothes. It uses no energy and helps your clothes last longer.

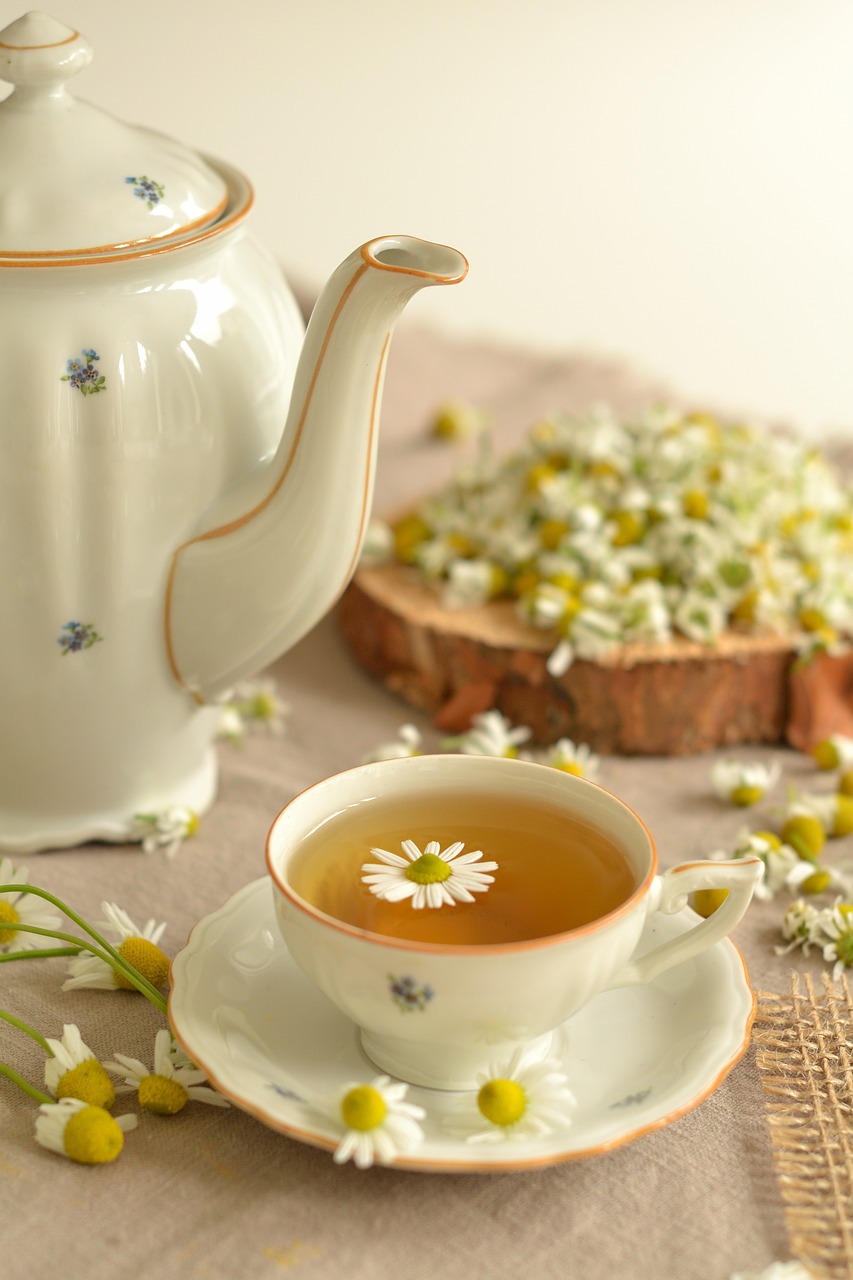
Supplements for a Healthier You

Just like laundry can be good for your clothes, taking supplements can help you feel your best! They’re like extra nutrients for your body, kind of like adding softener to your laundry. Some popular supplements include:

  • Vitamin D: This vitamin is important for healthy bones, muscles, and even your mood.
  • Omega-3 fatty acids: These healthy fats are good for your heart, brain, and eyes.
  • Probiotics: These good bacteria help support your gut health and immune system.

Remember: Always talk to your doctor before starting any new supplements.

Buffalo: A Gem of the Great Lakes

If you’re looking for a fun place to visit, check out Buffalo, New York! It’s a bustling city with amazing food, art, and history. Plus, it’s right on Lake Erie, so you can enjoy all sorts of water activities, like swimming, boating, and fishing. If you love the outdoors, Buffalo is the perfect destination for you.

Summary

This article talked about ways to make your laundry routine more eco-friendly and how supplements can support your health. We also took a trip to Buffalo, New York, a great place to visit.

Remember, taking care of yourself and your environment is super important. Use these tips to help make your laundry eco-friendly, explore the benefits of supplements, and maybe even plan a trip to Buffalo.

Learn more about how to live a more sustainable life by visiting Ecliptic Signs.


More on Health Supplements

Posted on Leave a comment

Toasters ~ Toasty Travels: Your Guide To The Perfect Toast…

Toasters and Carts explained

Toasters, Carts, etc…

Toast Cart Q&A

Q: What is a toast cart?

A: A toast cart is a mobile way to enjoy toast on the go. Think of it as a fun and convenient way to make toast wherever you are!

Q: How is a toast cart unique?

**A: **Toast carts add a fun and unique touch to any event or gathering. They’re a great way to add a little bit of excitement to your day!

Q: Where can I take a toast cart?

A: You can take a toast cart just about anywhere! From cruising around a city like Aberdeen, Scotland, to enjoying a picnic in the park, a toast cart is sure to be a hit.

Q: What makes a toast cart so special?

A: The best part? You can enjoy a perfectly toasted slice of bread wherever you are! Whether you’re sharing with friends or indulging yourself, a toast cart is a fun and delicious way to enjoy a classic treat.

Toasty Travels: Your Guide to the Perfect Toast Cart

TL;DR – Need a way to make toast on the go? A toast cart might be just what you need! Learn how to build your own or find one online.

Ever wanted to enjoy a delicious piece of toast while you’re on the move? Well, now you can with a toast cart! Imagine cruising around town, maybe in Aberdeen, Scotland (a city with a rich history), and whipping up a perfect slice of toast for yourself or your friends. Sounds pretty cool, right?

What is a Toast Cart?

A toast cart is a portable, self-contained unit designed to make toast. Think of it like a mini kitchen on wheels. It typically includes:

  • A toaster: This is the most important part! It’s where you actually make the toast.
  • A cart or base: This gives the cart stability and makes it easy to move around.
  • Storage space: This can hold things like bread, butter, jam, and other toppings.
  • A counter top: This provides a flat surface for prepping your toast and adding those delicious toppings.

Benefits of Using a Toast Cart

Why would you want a toast cart? Well, it comes with some sweet advantages:

  • Convenience: You can make toast anywhere you go, from the park to a friend’s house. No more relying on a kitchen!
  • Fun and unique: A toast cart is a fun way to add a unique touch to any event or gathering. It’s sure to be a conversation starter.
  • Portable and compact: Most toast carts are designed to be compact and easy to move around.
  • Versatile: You can use a toast cart to make other things too, like grilled cheese sandwiches, paninis, and even breakfast burritos.

How to Make Your Own Toast Cart

Want to build your own toast cart? It’s not as hard as you might think! Here’s a basic breakdown:

  1. Choose a cart base: You can find ready-made cart bases online or at hardware stores. Make sure it’s sturdy enough to hold the weight of your toaster and other supplies.
  2. Secure the toaster: Find a way to safely attach the toaster to the cart. Consider using screws, clamps, or even Velcro.
  3. Add storage: Think about what kind of storage you’ll need. You could add shelves, drawers, or even a cooler for keeping things cold.
  4. Add a counter top: You’ll need a surface to work on. You can use a piece of wood, metal, or even a cutting board.

Buying a Ready-Made Toast Cart

Not into DIY? No worries! You can also find ready-made toast carts online. Just search for “toast cart” or “portable toaster cart” on your favorite shopping website. There are tons of options available, so take your time and find one that fits your needs and budget.

Toasting Tips for Your Cart

Here are some quick tips for making the best toast on your cart:

  • Use good-quality bread: Freshly baked bread will make a huge difference in taste.
  • Don’t over-toast: Toast should be golden brown, not burnt.
  • Get creative with toppings: Don’t be afraid to try different toppings, like avocado, cheese, or even Nutella.

Toast Cart Fun Facts

  • The first toaster was invented in 1893.
  • Aberdeen, Scotland, is famous for its delicious seafood, including haddock, which makes a perfect topping for toast.
  • The most expensive toaster in the world is made by a company called Ecliptic Signs, and it’s made of solid gold!

Toast Cart Summary

A toast cart is a fun and convenient way to enjoy toast on the go. It’s easy to build your own or find one online. Whether you’re cruising around Aberdeen or just enjoying a picnic in the park, a toast cart is sure to add some fun and flavor to your day!


More on Toasters

Posted on Leave a comment

Hedge Trimmers | Say Goodbye To Overgrown Hedges And Hello…

Why you simply must checkout Hedge Trimmers and Cleaning Tools & Supplies

What’s the best source for Cleaning Tools & Supplies?

Creating a Gorgeous Garden with Happy Hedges!

Whether you’re a gardening pro or just starting out, happy hedges are key to a beautiful and well-maintained outdoor space! To help you achieve that, let’s talk about hedge trimmers and how to keep them, and your hedges, in tip-top shape.

Types of Hedge Trimmers:

There are two main types of hedge trimmers to help you achieve your garden goals:

  • Electric Hedge Trimmers: These quiet and lightweight beauties are perfect for those who prefer a quieter gardening experience.

Choosing the Right Hedge Trimmer:

To find the perfect match for your yard, consider:

  • Yard Size: For larger yards, a gas-powered trimmer might be a better option, while electric trimmers are great for smaller spaces.

Pro Tips for a Gorgeous Garden:

  • Keep Your Tools Clean: After each trim, give your hedge trimmer a quick brush-down to remove any debris and keep it in tip-top shape.
  • Nurture Your Hedges: Just like any plant, hedges love regular watering and a little fertilizer to stay healthy and lush.

Happy trimming and enjoy your beautiful, well-maintained garden!

Say Goodbye to Overgrown Hedges and Hello to a Well-Maintained Yard!

TL;DR This article is all about hedge trimmers! We’ll explore what they are, how to use them safely, and even give you some tips for making your yard look its best.

What are Hedge Trimmers?

Imagine your hedges growing wild and out of control. That’s where a hedge trimmer comes in! It’s like a pair of giant scissors that helps you trim and shape your hedges. Hedge trimmers are basically power tools that make trimming bushes and shrubs a breeze, and they’re pretty easy to use.

Types of Hedge Trimmers

There are two main types of hedge trimmers:

  • Electric Hedge Trimmers: These are powered by electricity, making them quieter and lighter than gas-powered trimmers. You’ll need an extension cord to use them.
  • Gas Hedge Trimmers: These are more powerful than electric ones, perfect for tough jobs and larger yards. You’ll need to add fuel and oil.

Safety First

  • Read the instructions: Always read the instructions that come with your hedge trimmer before using it.
  • Wear safety gear: It’s important to protect yourself. Wear safety glasses, gloves, and sturdy shoes.
  • Keep a firm grip: Hold the trimmer firmly, especially when trimming high hedges.
  • Beware of blades: The blades are sharp! Be careful not to touch them while they’re running.

Using Your Hedge Trimmer

  • Start with the right tools: Have a sturdy ladder or a pair of pruning shears handy for those hard-to-reach spots.
  • Go slow and steady: Don’t rush the trimming process. It’s better to take your time to get a neat and even cut.
  • Trim a little at a time: Cut off small sections of the hedge until you reach your desired shape.
  • Maintain the trim: Trimming regularly helps keep your hedges looking their best.

Choosing the Right Hedge Trimmer

  • Consider your yard size: If you have a large yard, a gas-powered trimmer may be a better choice.
  • Think about your needs: How often will you be trimming? How thick are your hedges?
  • Get advice from an expert: If you’re not sure which type of trimmer to choose, talk to someone at a local hardware store or garden center.

Pro Tips for a Gorgeous Garden

  • Keep your tools clean: After each use, clean your hedge trimmer with a brush to remove debris.
  • Sharpen your blades: Sharp blades make cutting easier and prevent damage to your hedges.
  • Take care of your hedges: Water and fertilize your hedges regularly to keep them healthy and lush.

Hedge Trimmers in St. Paul

If you live in St. Paul, Minnesota, you can find a wide variety of hedge trimmers at local hardware stores and garden centers.

Looking for more gardening and landscaping advice? Check out Ecliptic Signs – they are experts in outdoor spaces.

Summary

This article provided information about hedge trimmers, including their different types, safety tips, and how to choose the right one for your needs. We also shared tips for using and maintaining your hedge trimmer and your hedges. Whether you are a seasoned gardener or just starting out, taking good care of your hedge trimmers and hedges is essential for creating a beautiful and well-maintained outdoor space. Keep in mind that safety is always paramount, so be sure to follow the instructions and take all necessary precautions when using your hedge trimmer. With a little effort and care, you can have a fantastic-looking yard that everyone will admire!


More on Hedge Trimmers

Posted on Leave a comment

Sand ~ Beach Bum Blues: How To Get Sand Out…

Why you simply must checkout sand and Laundering & Fabric Care

What’s the best source for Laundering & Fabric Care?

Ditch the Beach Bum Blues: Keep Your Clothes Sand-Free This Summer!

We all love a day at the beach, but battling sand clinging to our clothes can quickly turn a fun day into a chore. This summer, beat the beach bum blues with our tips for keeping your clothes sand-free!

We’ll show you how to choose the right clothes and fabrics, plus share smart tricks to avoid sand from getting on your clothes in the first place. Imagine kicking back on the beach, sand between your toes, and feeling the cool breeze on your skin – without worrying about sand-covered clothes ruining your fun!

Ready to enjoy a sand-free summer? We’ll share all the secrets to keeping your clothes clean and your vacation stress-free!

Beach Bum Blues: How to Get Sand Out of Your Clothes

TL;DR: Got sand stuck in your clothes after a day at the beach? Don’t worry! This article will give you easy tips and tricks on how to get sand out of your clothes and keep them looking fresh. We’ll also give you some ideas for preventing sand from getting in your clothes in the first place.

The Sand Trap: How Did It Get There?

Have you ever come back from a day at the beach, only to find your clothes are filled with sand? It’s like the sand just magically appears, isn’t it?

Well, it’s not magic, but it is a little bit of science. Sand is made up of tiny particles of rock, and these particles are really good at sticking to fabrics, especially if the fabric is dry. Think of it like Velcro, but microscopic!

Get Rid of the Grit

So, how do you get rid of sand that’s gotten into your clothes? Here are a few easy tips:

Shake, Shake, Shake

The first step is to shake out your clothes. This will get rid of a lot of the loose sand. You can also use a stiff brush to help dislodge sand from fabric, especially from pockets. Don’t be afraid to give them a good shake!

A Little Bit of Air

The next step is to air your clothes out. Let them hang in a sunny spot or a well-ventilated area. The sun’s warmth can help loosen the sand, and the air will help to dry them out.

The Laundry Room Rescue

If shaking and air drying doesn’t work, you can try washing your clothes. Wash them in cold water with your regular detergent. Don’t use hot water, as this can make the sand set in more. Be sure to check the care label for your clothes before washing them.

Sand-Proofing Your Summer Style

If you want to avoid the sand blues altogether, there are a few things you can do:

  • Wear light-colored clothes. Sand shows up more on dark clothes.
  • Choose fabrics that don’t cling to sand. Cotton and linen are good choices, while synthetic fabrics like nylon or polyester may attract sand more easily.
  • Shake your clothes out before you put them on. This will help to remove any loose sand that might have gotten on them.
  • Keep a beach towel handy. You can use it to sit on or to wrap your clothes in when you’re not wearing them.

Sand-Free Summer Fun

With a little bit of care, you can keep your clothes sand-free and enjoy your time at the beach. Don’t forget to wear sunscreen, and have fun!

Miami and Sand: A Love Story

Miami is famous for its beautiful beaches and the sand is part of what makes it so special. If you ever find yourself in Miami, take a stroll along the beach and let the soft sand between your toes remind you of all the fun you’re having. But don’t forget to shake out your clothes before you leave!

The Sand-Free Solution for Your Home

Are you looking for a solution to keep your home sand-free? We can help! Ecliptic Signs offers a variety of products and services that can keep your home looking its best, even if you’ve been to the beach.

Summary

This article explores the common problem of sand getting stuck in clothes after a day at the beach. It offers practical tips and tricks for removing sand from clothes, including shaking, air drying, and washing in cold water. It also provides advice on sand-proofing your summer style by choosing the right clothes and fabrics and taking precautions to prevent sand from getting on your clothes in the first place. The article touches upon the beauty of Miami’s beaches and concludes with a call to action, suggesting that Ecliptic Signs can provide solutions to keep your home sand-free.


More on sand